;)
Making a linocut can be a fun and relatively simple technique to learn. Cutting linoleum is easier than cutting wood and cost less. You don’t need much to get started, just some commonly used office supplies, good quality cutters, a cutter handle and of course – linoleum.
We made this simple step-by-step tutorial for you to follow. If you’d rather follow a video tutorial, scroll down at the end of this thread to find a video. You can also find links for some of the supplies mentioned down below. Let’s begin!
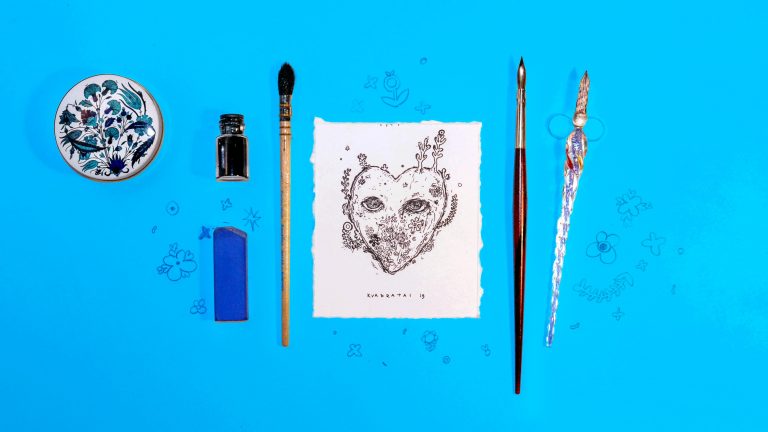
The supplies
For this project you’ll need: carbon paper, a sketch, linoleum, marker, pencil, lino cutter handle, lino cutters, knife, scissors, ruler and scotch tape.
Note: any design will be reversed when printed, so keep this in mind when you create your sketch.

1. Adjust the sketch
Before you begin cutting, you need to make some adjustments to your sketch. Since this drawing is small, it needs support around the edges, so that the linoleum doesn’t rip or tear.
Make approx. 1cm border around the edges and then cut out the sketch.

After that, mark a plot of the appropriate size on the linoleum.

Next, cut out the shape using a knife.

2. Trace the sketch onto linoleum
Take the carbon paper and place it on the linoleum glossy side down.

Now, put your sketch on top and secure everything in place using scotch tape.

Next, using a pencil, start tracing your sketch, so that it transfers onto linoleum.

When that’s done, take all the layers off.

3. Begin cutting the linoleum
It’s time to begin cutting! For larger areas use wider lino cutters, for smaller areas use narrower lino cutters.

You don’t have to cut the linoleum to deep – only to reveal the raised (uncarved) areas of your drawing.

4. Make prints
Once the cutting process is over, you can cover your linocut with paint and make prints. We will explain more about making the print in the next thread. Good luck!


Links for the supplies
- Essdee Five Lino Cutters and Handle Set: https://amzn.to/2ZfijEb
- Essdee Art Print Linoleum: https://amzn.to/2KLPnzE
- Carbon Copy Paper: https://amzn.to/2KLqLa5
Video tutorial
Popular articles
Comments